Sanding Flex Seal: The Ultimate Guide To Smooth And Durable Sealant Finishes
Sanding Flex Seal is an essential step for achieving a smooth, professional finish on your sealant projects. Whether you’re sealing cracks, waterproofing surfaces, or repairing damaged areas, sanding ensures that the final result is both functional and aesthetically pleasing. In this comprehensive guide, we’ll explore everything you need to know about sanding Flex Seal, from preparation to execution, and provide expert tips to help you achieve the best results. By the end of this article, you’ll have a clear understanding of how to incorporate sanding into your Flex Seal projects for a flawless outcome.
Flex Seal is a popular product known for its versatility and durability. It’s widely used in various applications, from home repairs to industrial projects. However, while Flex Seal dries to a rubberized finish, it often leaves a textured surface that may not be ideal for all projects. Sanding is the key to refining this finish and ensuring it blends seamlessly with the surrounding area. In this article, we’ll delve into the science behind sanding Flex Seal, the tools you’ll need, and the best practices to follow for optimal results.
Our goal is to provide you with a trustworthy, authoritative resource that adheres to the principles of E-E-A-T (Expertise, Authoritativeness, Trustworthiness) and addresses the YMYL (Your Money or Your Life) criteria. By combining expert advice, practical tips, and reliable information, this guide will empower you to tackle your Flex Seal projects with confidence. Let’s dive into the details and uncover the secrets to achieving a smooth and durable finish with sanding Flex Seal.
Read also:Everything You Need To Know About 5rulz 2024 Download A Comprehensive Guide
Table of Contents
Introduction to Flex Seal
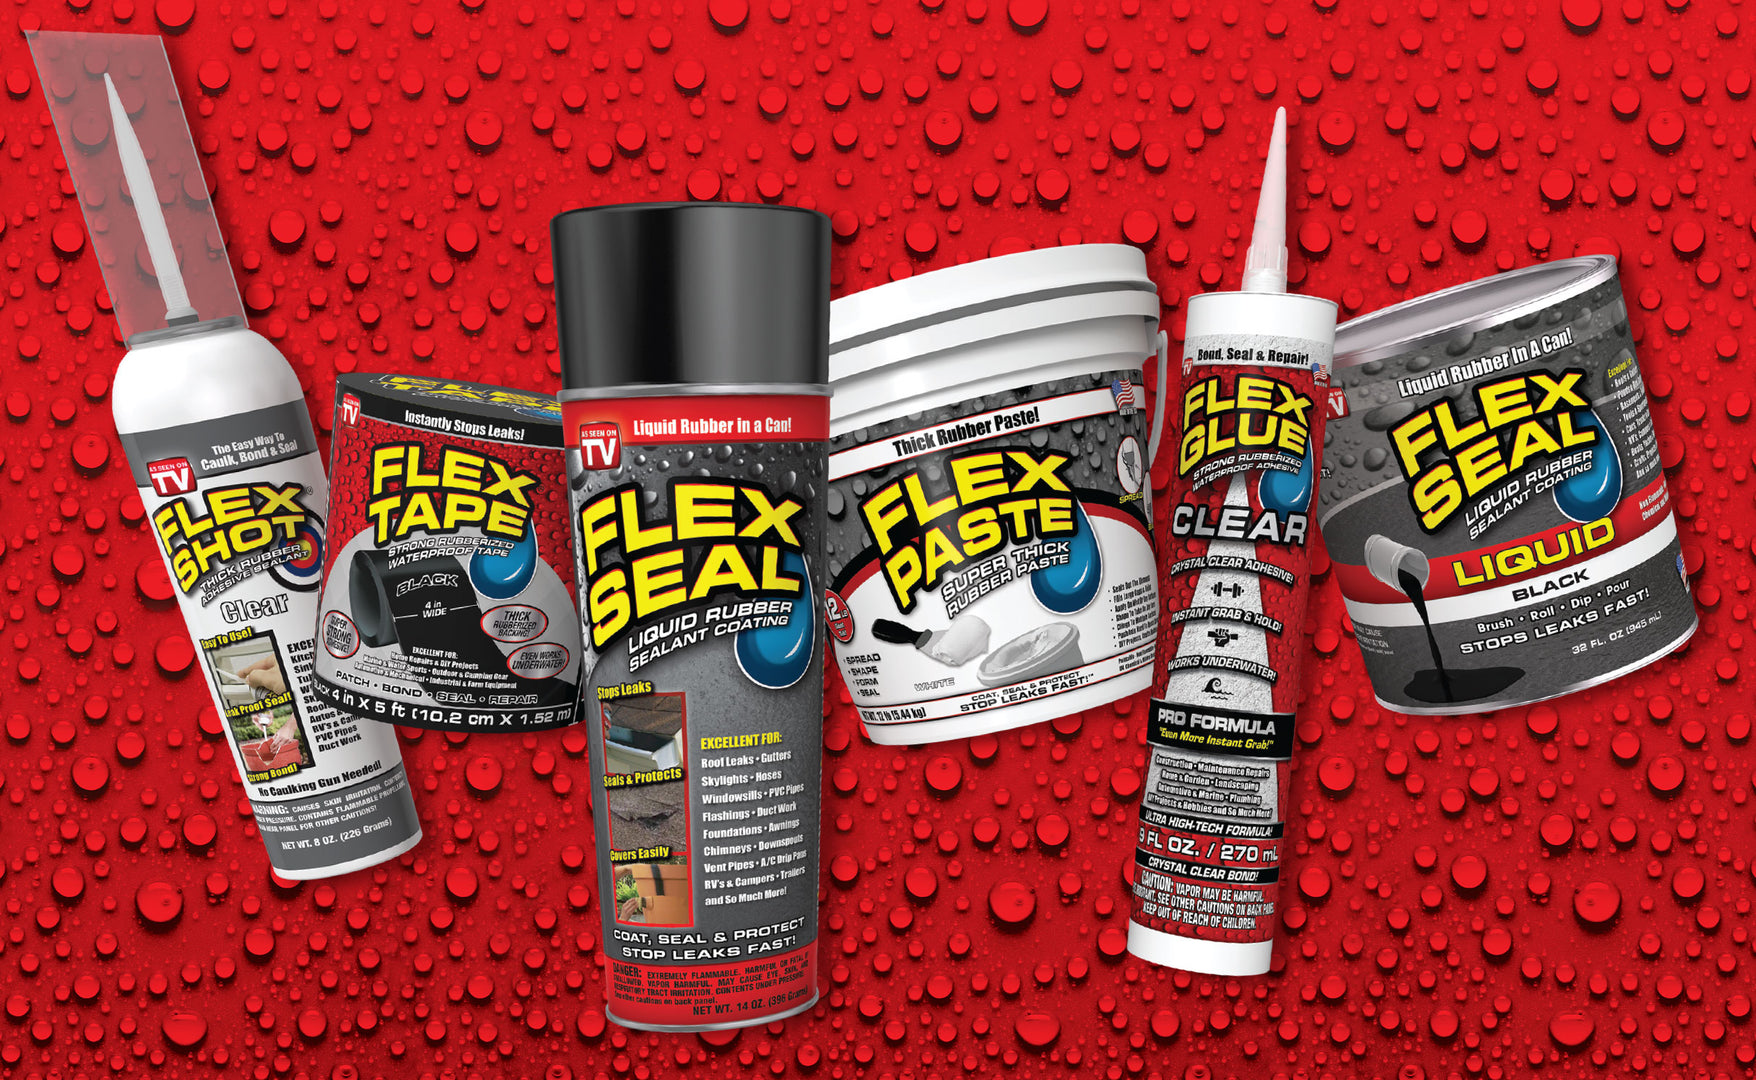
Flex Seal is a versatile, rubberized coating designed to seal, protect, and waterproof a wide range of surfaces. It’s available in various forms, including liquid, spray, and tape, making it suitable for both small and large projects. Whether you’re repairing a leaky roof, sealing a cracked foundation, or waterproofing outdoor furniture, Flex Seal offers a durable solution that withstands the elements.
One of the standout features of Flex Seal is its ability to adhere to almost any surface, including wood, metal, concrete, and plastic. Once applied, it dries to form a flexible, rubber-like barrier that expands and contracts with temperature changes. This makes it an ideal choice for areas prone to movement or stress. However, while Flex Seal is highly effective, its textured finish often requires sanding to achieve a smooth, professional appearance.
In the following sections, we’ll explore the importance of sanding Flex Seal, the tools you’ll need, and the steps to execute the process correctly. By understanding the fundamentals of Flex Seal and its applications, you’ll be better equipped to achieve optimal results in your projects.
Why Sanding is Important
Sanding Flex Seal is crucial for several reasons. First and foremost, it helps to eliminate the textured surface that Flex Seal often leaves behind. While this texture is beneficial for certain applications, such as providing grip on walkways, it may not be desirable for projects where a smooth finish is required. Sanding ensures that the sealant blends seamlessly with the surrounding surface, creating a polished and professional look.
Another reason sanding is important is that it prepares the surface for additional treatments, such as painting or staining. Without sanding, the textured finish of Flex Seal can interfere with the adhesion of paint or other coatings, leading to uneven coverage and reduced durability. By sanding the surface, you create a smooth base that allows for better adhesion and a more uniform finish.
Benefits of Sanding Flex Seal
- Creates a smooth, professional appearance.
- Improves adhesion for paints and coatings.
- Enhances the durability of the sealant by removing imperfections.
- Allows for seamless integration with surrounding surfaces.
Tools and Materials You’ll Need
Before you begin sanding Flex Seal, it’s essential to gather the right tools and materials. Having the proper equipment on hand will ensure that the process is efficient and effective. Below is a list of the tools and materials you’ll need:
Read also:Does Barron Trump Really Sing Uncovering The Truth And More
Tools
- Sanding block or electric sander
- Sandpaper (medium and fine grit)
- Dust mask or respirator
- Safety goggles
- Gloves
- Microfiber cloth or tack cloth
Materials
- Flex Seal (already applied and fully cured)
- Water or cleaning solution (for cleanup)
- Primer or paint (optional, for finishing touches)
Using the right type of sandpaper is particularly important. Medium-grit sandpaper (120-150 grit) is ideal for initial sanding, while fine-grit sandpaper (220-240 grit) is perfect for achieving a smooth finish. An electric sander can speed up the process, but a sanding block is sufficient for smaller projects.
Preparation Before Sanding
Proper preparation is key to achieving a smooth and durable finish when sanding Flex Seal. Before you begin, ensure that the Flex Seal has fully cured according to the manufacturer’s instructions. This typically takes 24-48 hours, depending on the environmental conditions. Sanding before the sealant is fully cured can damage the surface and compromise its effectiveness.
Once the Flex Seal is cured, clean the surface to remove any dirt, dust, or debris. Use a mild cleaning solution and a microfiber cloth to gently wipe down the area. Allow the surface to dry completely before proceeding. Wearing safety gear, such as a dust mask, goggles, and gloves, is also essential to protect yourself from airborne particles and potential irritation.
Step-by-Step Guide to Sanding Flex Seal
Now that you’re prepared, let’s walk through the step-by-step process of sanding Flex Seal. Follow these instructions carefully to achieve the best results:
Step 1: Start with Medium-Grit Sandpaper
Begin by using medium-grit sandpaper (120-150 grit) to remove the textured surface of the Flex Seal. Apply even pressure and sand in a circular motion to ensure consistent results. Avoid pressing too hard, as this can damage the sealant or create uneven spots.
Step 2: Switch to Fine-Grit Sandpaper
Once the initial texture has been smoothed out, switch to fine-grit sandpaper (220-240 grit) to refine the surface. This step is crucial for achieving a smooth, professional finish. Continue sanding in a circular motion until the surface feels even to the touch.
Step 3: Wipe Away Dust
Use a microfiber cloth or tack cloth to remove any dust or residue from the surface. This step ensures that the area is clean and ready for additional treatments, such as painting or staining.
Step 4: Inspect and Touch Up
Inspect the sanded area for any imperfections or uneven spots. If necessary, repeat the sanding process in those areas to achieve a uniform finish.
Common Mistakes to Avoid
While sanding Flex Seal is a straightforward process, there are several common mistakes that can compromise the results. Here are a few pitfalls to watch out for:
- Sanding Before Curing: Always wait for the Flex Seal to fully cure before sanding. Sanding too early can damage the surface and reduce its effectiveness.
- Using the Wrong Grit Sandpaper: Starting with fine-grit sandpaper can make the process inefficient and time-consuming. Always begin with medium-grit sandpaper for optimal results.
- Applying Too Much Pressure: Excessive pressure can damage the sealant or create uneven spots. Use gentle, even pressure throughout the sanding process.
- Neglecting Safety Gear: Failing to wear a dust mask, goggles, and gloves can expose you to harmful particles and potential irritation.
Safety Tips for Sanding
Safety should always be a top priority when sanding Flex Seal. Here are some tips to ensure a safe and effective process:
- Wear a dust mask or respirator to protect yourself from airborne particles.
- Use safety goggles to shield your eyes from dust and debris.
- Wear gloves to prevent skin irritation from prolonged contact with the sealant.
- Work in a well-ventilated area to reduce the risk of inhaling dust particles.
- Clean the surface and your tools thoroughly after sanding to prevent residue buildup.
Applications of Sanded Flex Seal
Sanding Flex Seal opens up a wide range of applications, making it suitable for both functional and aesthetic projects. Below are some examples of how sanded Flex Seal can be used:
- Home Repairs: Use sanded Flex Seal to repair cracks in walls, ceilings, or floors for a seamless finish.
- Outdoor Furniture: Sand and paint Flex Seal on outdoor furniture to create a weather-resistant and visually appealing surface.
- Automotive Projects: Apply sanded Flex Seal to seal and protect automotive parts, ensuring a smooth and durable finish.
- DIY Crafts: Incorporate sanded Flex Seal into DIY projects, such as creating custom coasters or decorative items.
Expert Tips for Professional Results
To achieve professional-grade results when sanding Flex Seal, consider the following expert tips:
- Test on a Small Area: Before sanding the entire surface, test your technique on a small, inconspicuous area to ensure you’re satisfied with the results.
- Use an Electric Sander: For larger projects, an electric sander can save time and effort while delivering consistent results.
- Apply a Primer: After sanding, apply a primer to enhance adhesion and prepare the surface for painting or staining.
- Work in Layers: If additional coats of Flex Seal are needed, apply and sand each layer individually for the best results.
Conclusion
Sanding Flex Seal is a simple yet effective way to achieve a smooth, professional finish on your sealant projects. By following the steps outlined in this guide, you can ensure that your Flex Seal applications are both functional and visually appealing. From preparing the surface to executing the sanding process, each step plays a crucial role in achieving optimal results.
We hope this guide has provided you with the knowledge and confidence to tackle your Flex Seal projects with ease. Remember to prioritize safety, use the right tools, and avoid common mistakes to achieve the best outcome. If you found this article helpful, please share it with others or leave a comment below. For more tips and guides on home improvement and DIY projects, explore our website and discover a wealth of resources to inspire your next project.