Adding Trim To Flat Cabinet Doors: A Stunning Before And After Transformation
Transforming your kitchen or living space doesn’t always require a complete overhaul. Sometimes, small changes can make a big impact. Adding trim to flat cabinet doors is one such upgrade that combines affordability with a significant aesthetic boost. This project not only enhances the visual appeal of your cabinets but also adds a touch of elegance and sophistication to your home. If you’ve been searching for a budget-friendly way to revamp your space, this article will guide you through the process of adding trim to flat cabinet doors, showcasing inspiring before and after results.
Flat cabinet doors are functional but often lack character. By adding trim, you can introduce depth, texture, and a custom look that mimics more expensive cabinetry. Whether you’re preparing your home for sale or simply want to refresh your living space, this project is a game-changer. In this article, we’ll explore the step-by-step process, tools needed, design ideas, and tips to achieve professional-looking results.
From choosing the right type of trim to painting and finishing techniques, we’ll cover everything you need to know to execute this project successfully. By the end of this guide, you’ll be equipped with the knowledge to transform your flat cabinet doors into stunning focal points that elevate your home’s interior design.
Read also:Exploring The Wonders Of Sky S A Comprehensive Guide
Table of Contents
- Why Add Trim to Flat Cabinet Doors?
- Tools and Materials You’ll Need
- Design Ideas for Cabinet Door Trim
- Step-by-Step Guide to Adding Trim
- Before and After: Real-Life Transformations
- Painting and Finishing Techniques
- Common Mistakes to Avoid
- Cost Analysis: Is It Worth It?
- Sustainability and Eco-Friendly Options
- Conclusion and Call to Action
Why Add Trim to Flat Cabinet Doors?
Flat cabinet doors are a popular choice due to their simplicity and affordability. However, their plain design can make a room feel uninspired. Adding trim is an excellent way to enhance their appearance without breaking the bank. Trim adds architectural interest, making your cabinets look custom-built and high-end.
One of the main reasons homeowners choose to add trim is to increase the value of their property. Potential buyers are often drawn to homes with unique and stylish features. By upgrading your cabinets, you can create a more inviting and visually appealing space that stands out in the real estate market.
Trim also allows you to personalize your cabinets. Whether you prefer a traditional, farmhouse, or modern look, there are countless design options to suit your style. This versatility makes adding trim a popular choice for DIY enthusiasts and professional designers alike.
Tools and Materials You’ll Need
Before starting your project, it’s essential to gather the right tools and materials. Having everything prepared will ensure a smooth and efficient process.
- Trim Molding: Choose from options like flat stock, decorative molding, or picture frame trim.
- Adhesive: Construction adhesive or wood glue works well for securing the trim.
- Finishing Nails: Use small nails for additional support.
- Sandpaper: For smoothing rough edges and surfaces.
- Paint or Stain: Select a color that complements your room’s decor.
- Tools: A miter saw, nail gun, caulk gun, and paintbrush are essential for this project.
Choosing the Right Trim
When selecting trim, consider the style of your home and the overall design theme. For a classic look, opt for raised panel or beadboard trim. If you prefer a modern aesthetic, sleek and minimalist trim profiles are ideal.
Design Ideas for Cabinet Door Trim
Adding trim opens up endless design possibilities. Here are some ideas to inspire your project:
Read also:Exploring Benson Boone Height The Rising Stars Journey And Influence
- Picture Frame Trim: Create a framed look by attaching rectangular or square trim pieces to the cabinet doors.
- Layered Trim: Combine multiple trim styles for a more intricate and detailed appearance.
- Shaker-Style Trim: Mimic the look of shaker cabinets by adding a recessed panel effect with trim.
Color and Finish Options
The color and finish of your trim play a crucial role in the overall look. White trim is a timeless choice that brightens up any space, while darker tones like navy or charcoal add drama and contrast.
Step-by-Step Guide to Adding Trim
Follow these steps to achieve professional results:
- Measure and Cut: Measure the cabinet doors and cut the trim pieces to size using a miter saw.
- Attach the Trim: Use adhesive and finishing nails to secure the trim to the cabinet doors.
- Fill Gaps: Apply caulk to fill any gaps between the trim and the cabinet surface.
- Sand and Prime: Sand the trim and apply a coat of primer before painting.
- Paint: Finish with your chosen paint color for a polished look.
Tips for Precision
To ensure clean lines and precise cuts, use a miter box or a laser level. Double-check measurements before cutting to avoid mistakes.
Before and After: Real-Life Transformations
Nothing speaks louder than real-life examples. Below are some inspiring before and after photos of cabinets transformed with trim:
- Example 1: A dated kitchen with flat cabinet doors was updated with white picture frame trim, creating a fresh and modern look.
- Example 2: Dark wood cabinets were given a new lease on life with layered trim and a bold navy paint finish.
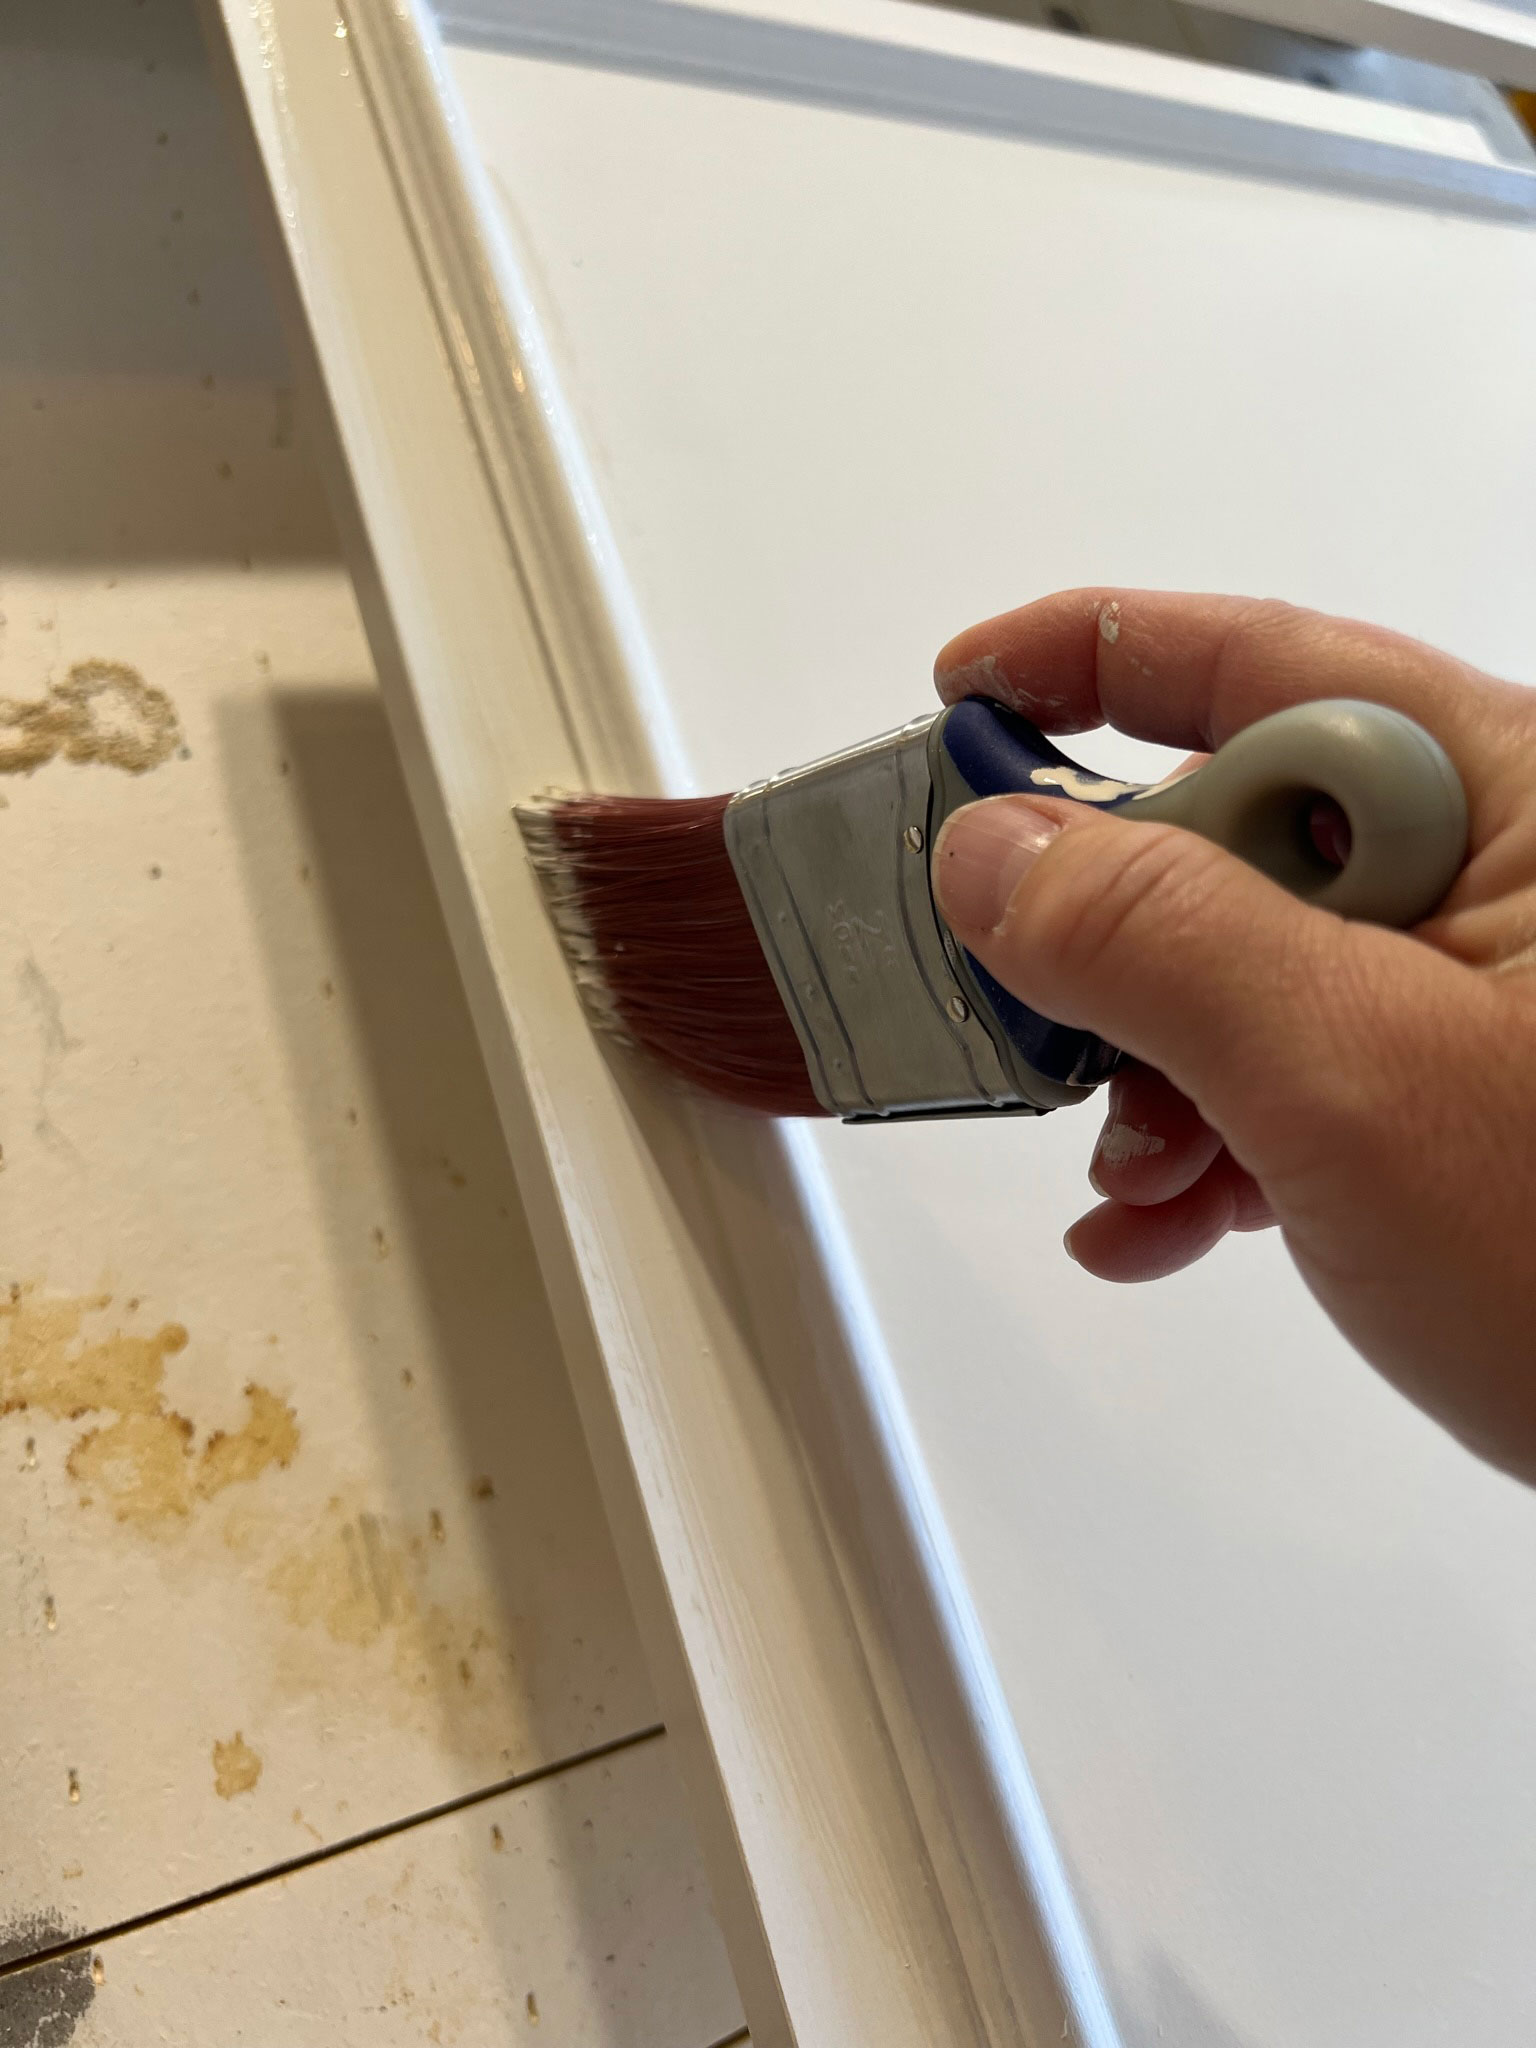
Painting and Finishing Techniques
The right painting technique can make all the difference. Use a high-quality brush or roller for smooth application. Consider using a spray gun for an even finish, especially on intricate trim designs.
Choosing the Right Paint
Semi-gloss or satin finishes are ideal for cabinets as they are durable and easy to clean. Avoid flat finishes, as they are prone to showing fingerprints and smudges.
Common Mistakes to Avoid
Even experienced DIYers can make mistakes. Here are some pitfalls to watch out for:
- Skipping Measurements: Always double-check measurements to ensure a perfect fit.
- Using the Wrong Adhesive: Choose a strong adhesive that bonds well with both the trim and cabinet material.
- Rushing the Process: Take your time to ensure each step is completed correctly.
Cost Analysis: Is It Worth It?
Adding trim is a cost-effective way to upgrade your cabinets. On average, the project costs between $50 and $200, depending on the materials and tools used. Compared to replacing entire cabinets, which can cost thousands, this is a budget-friendly option with significant visual impact.
Sustainability and Eco-Friendly Options
If sustainability is a priority, consider using reclaimed wood or eco-friendly paints. These options not only reduce environmental impact but also add a unique touch to your project.
Conclusion and Call to Action
Adding trim to flat cabinet doors is a simple yet transformative project that can elevate the look of your home. With the right tools, materials, and techniques, you can achieve professional results that enhance your space’s aesthetic and functionality.
Now that you’re equipped with all the information you need, it’s time to take action. Gather your supplies, choose a design, and start your project today. Share your before and after photos in the comments below or tag us on social media to inspire others. For more home improvement tips, explore our other articles and discover how small changes can make a big difference.